Thursday, October 6, 2011

Spare Bedroom Update #1

{I resisted the urge to iron the bedding, but now I wish I did}

Last week I told you about our boring spare bedroom here. I have made some progress. I swapped out the bedding, using a comforter I already had and I improvised with some king size shams from our bedroom. (I am attempting to go the whole month of October without spending money on stuff)

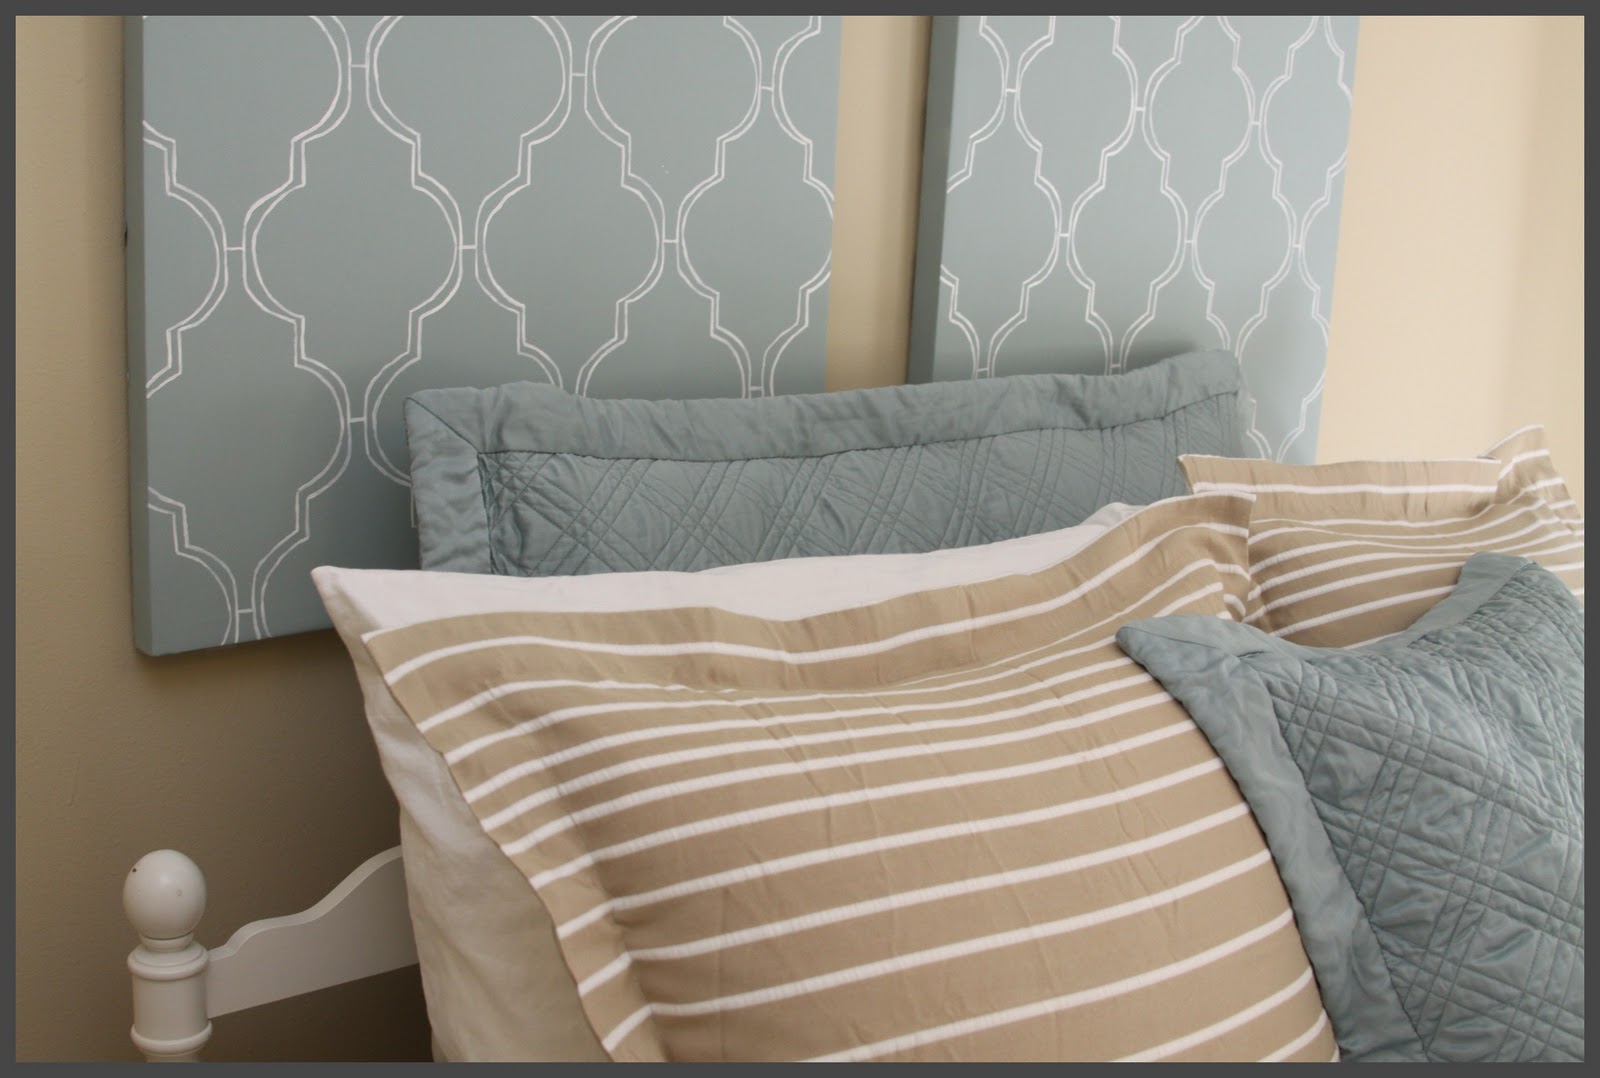
I also hung up the wall canvases that I repurposed. (I will blog about them some time next week)

While watching Secrets from a Stylist, I picked up a good pillow tip. Emily let me know that professional stylists use duct tape on the back of pillow shams to make them look crisp. In the first photo, the pillow on the left is without tape and the pillow on the right has been taped. I think it makes a huge difference.

Emily also suggested that viewers should use ribbon instead. The duct tape sounded easier. I guess our guests will be getting a turn down service to conceal my secret. However, if our visitors are readers of this blog, I will leave the taped shams out since they will likely be proud of my pillow MacGyver-ing.

Wednesday, October 5, 2011

A Happy Pillow

I have always felt like I was meant to use a sewing machine. I love fabric and crafting. My only problem was that my skills were limited to a middle school home-ec tutorial and the lingo I've picked up from watching Project Runway. I bought a sewing machine in August and let it sit for weeks out of fear that the machine would be too complicated for me to handle.

My aunt's birthday was the first of October and I wanted to make her something special. I recently purchased vintage fabric from a garage sale that reminded me of her. (I paid fifty cents for four yards) I finally mustered up the courage and got out the instruction manual for my Singer Promise. After carefully following each step for threading the machine, I managed to make this basic pillow.

I embroidered her initials and her birth date on a patch. It's not perfect, but it's made with love.

This is pretty basic stuff, but I will elaborate anyways. To make the flower I cut a 12"x1" strip of fabric. By hand, I sewed a running stitch down one edge. Then I pulled the string tight, which made the fabric bunch up. After knotting the thread, I stitched up the two sides. I repeated the exact same process with khaki fabric for the inner layer. I sewed the two layers together and added a few buttons and I was done.

{I was so pleased with my results that I made one for myself}

Monday, October 3, 2011

A Kale Conundrum

Over the past couple months, kale has occasionally shown up in our CSA basket. I wasn't sure what to do with this leafy green. I attempted to mix it into salads and found myself picking around it. Ultimately I ended up avoiding it and the leaves would wither and die in the back of our produce drawer. Out of sight, out of mind... it was a sad kale situation.

This week I did not avoid this strange vegetable. I made kale chips. I figured that with olive oil and salt, almost everything tastes good.

{Do you like our stove from 1991?}

Directions: on a rimmed baking sheet, coat the kale in olive oil. Season with kosher salt and a seasoning blend of your choice. (I chose Curt's Table Spice, which I purchased in Door County. Josh is insistent that we will be importing this from Wisconsin when our current supply runs out)

Bake at 350 degrees for 10-13 minutes. The kale will be crispy and the edges will start to turn brown.


It may not be the most beautiful snack, but we think it's delicious and it's much healthier than regular chips.